
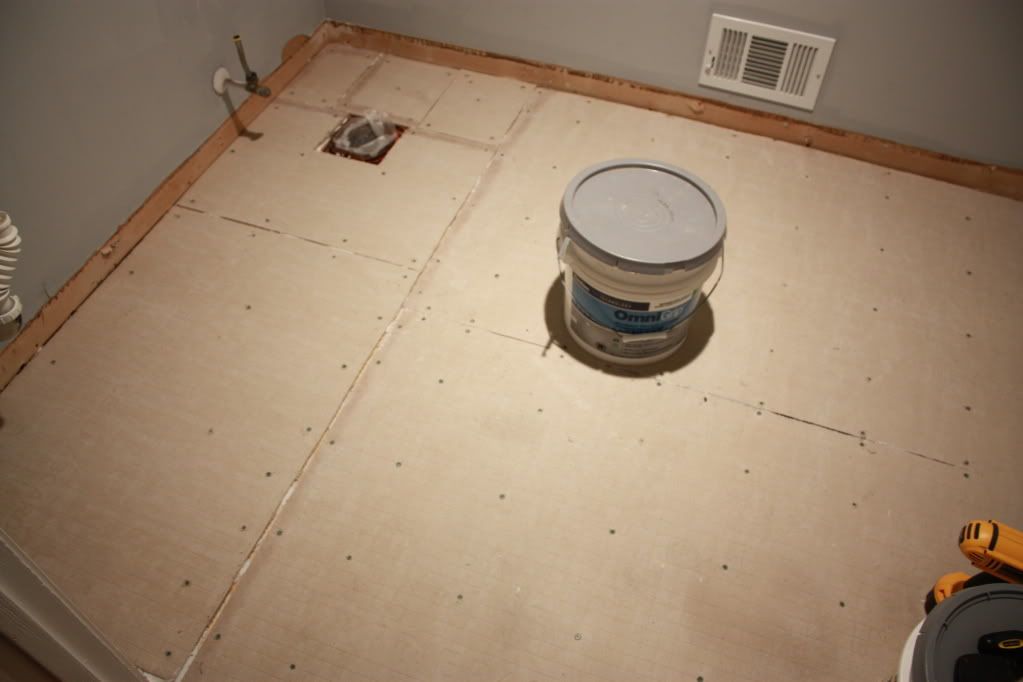
TIP #1 - BE LEVEL HEADED (and floored)
Before our bathroom floor was less level than the tower of Pisa....but now, its a whole new ball game. You can see how we did it here. The even floor makes a world of difference. Not only will the thinset be easier to spread but the actual tile will lay flat instead of having one corner higher. Plus the finishing touches such as trim, doors, furniture, and toilets will go in easier. There is nothing worse than finishing a room only to discover that now the legs on your bathroom cabinet wobble all over. Do the prep people - even out that floor!

TIP #2 - WHOLEY MOLEYS.
Lay out your tile in the room first. Getcha a good plan going. Small adjustments now can save you time & moolah later. See how our room is just a smudgen under the perfect size? Look closely. Our tile is right up to the wall on the left side and leaves just an inch on the right? If I evenly centered the tile in the room (like every website suggested to do) both sides would have required a half inch tile to finish it off. Instead I scooted the plan over to accomodate my inner Britney (It's My Perogative!). It saved me cutting time and the cost of extra tiles!

TIP #3 - PEE YOUR PANTS.
People often try to use a manual tile cutter. If you wanna right shoulder muscle the size of a linebackers & have bazillions of hours...go for it. But me? I like to pee my pants. And you can quote me on that. A wet tile saw is not only easy to use but it will save you TONS of time. Rent one, borrow one, or buy one (we got ours on sale for around $80 and it's been used for six projects already!) whatever you do, just get your hands on one for your next tiling project.

TIP #4 - CLEAN YOUR CRACK.
Let's face it, your crack can get nasty. Stuff is squishing out in the bathroom. The nearby crack is the only place it can go. Wet crack mess can get everywhere. And when it dries, it must be removed or else you end up with negative reactions. So go ahead and scrape it clean. It may hurt your hand, but you will get used to it. I use an assortment of different tools...the key is to dig that hot crack mess out and start with a clean slate :)

TIP #5 - GROUT WITH TWO SPONGES
Spreading grout is super fun. Wiping grout is not. Make the job easier with two sponges and a partner who doesn't mind helping. As you wipe with one sponge, have your partner clean out the other...then switcheroonie. Not only will it make the 'wiping grout' stage easier and faster - but it gives you a flawless finish. Just don't forget to squeeze your squeezer later for a job well done.
 |  |
TIP #6 - PAINT BEFORE TRIM
Self explanatory. Yes, you will have to caulk and paint your trim but go ahead and get the walls painted before you apply your floor boards. It'll save you time later because you don't have to do a perfect bottom line.

TIP #7 - INVEST IN YOUR THRONE
My older brother (a master plumber in Alabama) recommended to us that we spring for a Kohler brand toilet. He said that in general they have less problems. I figure Pepto Bismol's catchy jingle reminds us of enough potty problems - we really don't need an issue with the potty itself. So we were set on Kohler. We also learned that chair height is comfy for those of us with knee problems. And that the gentlemen folk prefer the elongated bowl. Just so happens that Lowe's carried a Kohler, elongated bowl, chair height toilet for under $200. And let me tell ya, its so comfy I can read an entire House Beautiful on my throne now. I know - I checked.

TIP #8 - DEVILS IN THE DETAILS
You have heard this a million times...devils in the details. It is never more true when you are retiling a bathroom. Sure you may have a totally tubular tiled floor but if the room looks gosh-awful, then nobody can focus on your DIY masterpiece. Go ahead and switch out hardware, touch up paint, include accessories, change your 80's wallplates and finish up your space 100%. It will let your guests dial into your bling-bling floor instead of the blah-blah room.
So there you have it my fine peepers. Some useful tips to help you in your next tiling extravaganza. And if you have some uber helpful suggestions that you would like to share, the floor is yours. I am sure that I am not the only one that could use some more money-saving, time-saving, effort-saving and result-improving tips for along the way. So, just like in the potty room, get to it!
For more bathroom makeover fun, check out Freckles Chick's new loo.


2 comments:
OMG! I got a shoutout from Katie Bower to the 5th Power! I'm calling it a day and getting the hell out of work b/c how can it possibly get better than this? Thanks =]
I COMPLETELY agree w/ each and every one of these tips. Esp. the sponge squeezer and the crack cleaning (which in turn exposed the Hub's crack....TMI). They're exactly what made our reno so much smoother.
Great tips. I just went through the same thing in tiling our backsplash.
Post a Comment